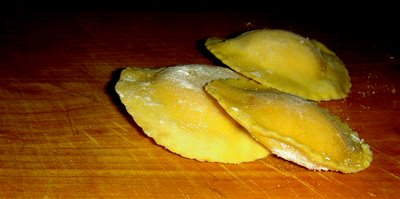
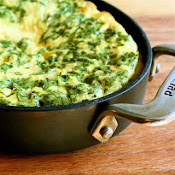
A few weeks ago I was motivated to make homemade butternut squash ravioli with sage brown butter sauce. When I initially started shaping the pasta dough I started questioning why I had begun such a tedious process. The first few ravioli I shaped were irregular, soggy and just plain hideous. As I persevered, however, the shaping process became easier and I finally developed my own, relatively efficient system. I froze most of what I created and my husband and I were able to enjoy this classic combination of savory sage and sweet squash for a second time last night. If you can overcome the frustrating preliminary shaping trials, I think you will find that your hard work will more than reward you with a few delicious and elegant dinners.
Butternut Squash Ravioli
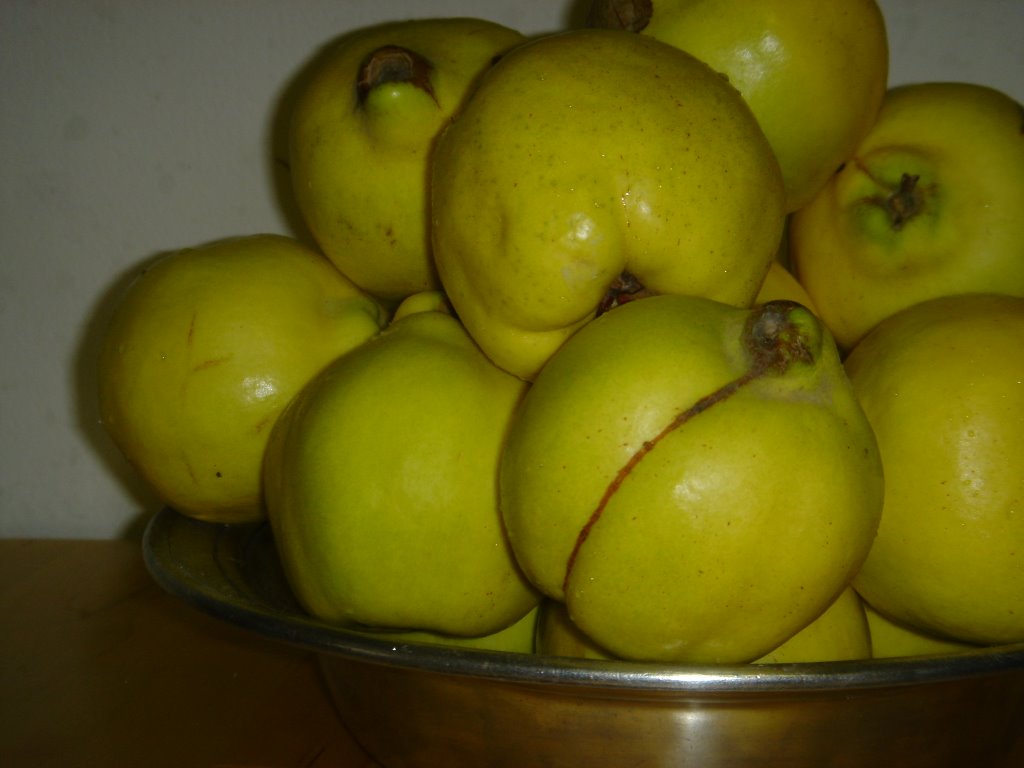
1 large butternut squash (about 1 lb)
kosher salt and freshly ground pepper
1/2 tsp. olive oil for the baking sheet
1 1/4 cups freshly grated Parmigiano Reggiano
2 eggs, lightly beaten
1 recipe pasta dough (see below)
2 T. unsalted butter
2 T. extra-virgin olive oil
8 fresh sage leaves
Preheat the oven to 375 degrees F. Cut the squash in half lengthwise and scoop out and discard the seeds. Lightly season the inside with salt and pepper, and place on a lightly oiled baking sheet. Bake for about 1 hour or until the flesh is knife-tender.
Remove from oven and let cool slightly. Scoop out flesh and pass through the fine disk of a food mill or purée in a food processor. Measure the purée, you should have about 2 cups (slightly more or less is fine). Stir in one cup of the grated Parmigiano. Add salt and pepper to taste. Keep testing the mixture until it tastes good to you--there is no salt in the dough, so correct the seasoning at this point. Stir in the eggs, and set aside. This mixture can be made 1-2 days in advance.
Pasta Dough
3 1/2 cups all-purpose flour, plus extra for kneading
5 large eggs lightly beaten
Mound flour in the center of a medium-sized bowl. Make a well in the center of the mound of flour. Add the eggs to the center. Using a fork, beat the eggs and begin to incorporate the flour, starting with the inner rim of the well. (If you are skilled at employing the "well" method on a large wooden board, go ahead and do that. I have never had much luck using a board--the eggs usually break through the mound and run all over the cutting board. I've found that the bowl helps contain "run-away" eggs.) When the eggs are almost completely incorporated, start kneading the dough in the bowl and then transfer to a large, lightly floured wooden board and continue to knead for 10 minutes, dusting the board with additional flour as necessary. The dough should feel elastic and a little sticky. Wrap the dough in plastic wrap and allow to rest for 30 minutes at room temperature before using.
To make the ravioli, divide the dough into 4 pieces. While you work with one section, keep the remaining dough covered with plastic wrap.
1. Lightly flour the section of dough you are working with and roughly shape into a rectangle about 1/2 inch thick.
2. Pass through the widest setting on a pasta machine. Fold the dough in three, like a letter and pass through the same setting again feeding the short end in first. Repeat this step 2 times, adding flour as needed.
3. Without folding the dough now, repeatedly pass it through the machine rollers, reducing the space between the rollers after each pass. When it has passed through the thinnest setting, it is ready to be shaped into ravioli. (If the dough gets too long and difficult to deal with, cut it in half and feed each piece through separately until each has passed through the thinnest setting).
4. The dough should be just less than 6 inches wide. Cut in half lengthwise. On one of these halves, place tablespoon-sized dollops of the squash filling evenly spaced about every 1 and 1/2 inches. Lay remaining half of dough atop the squash-dotted sheet of pasta. (This whole process will take some practice. I can almost guarantee you that your first batch will be ugly. Once you develop your own method, shaping the remaining dough will be much easier). With a knife, cut halfway between each mound to create the individual raviolis. Gently pinch to seal the two doughs together, using a tiny bit of water if necessary. Transfer to a baking sheet dusted with flour and cover with plastic wrap while you shape the remaining sections of dough.
Note: this recipe makes a lot. I recommend shaping all of the dough (you may have extra filling which you could freeze) and then freezing whatever extra ravioli you don't cook immediately. Also, do not store ravioli in the refrigerator--they become a soggy mess. Cook immediately or freeze.
To finish the dish, bring a large pot of water to a boil and add 1 tablespoon of salt. Combine butter and olive oil in a large non-stick sauté pan and heat until almost smoking. Add sage leaves and let sizzle until crisp, about 1-2 minutes total. Remove leaves with slotted spoon and drain on paper towel. Set aside. When water boils, add ravioli and cook until tender about 2-3 minutes (frozen ravioli also take only about 3 minutes). Reserve 1/4 cup of the pasta cooking water. When ravioli are done, drain, but do not rinse under cold water. Heat butter and oil again until hot, add ravioli (be careful, it will splatter), add reserved cooking water, remaining 1/4 cup of cheese and reserved sage leaves. Serve immediately.


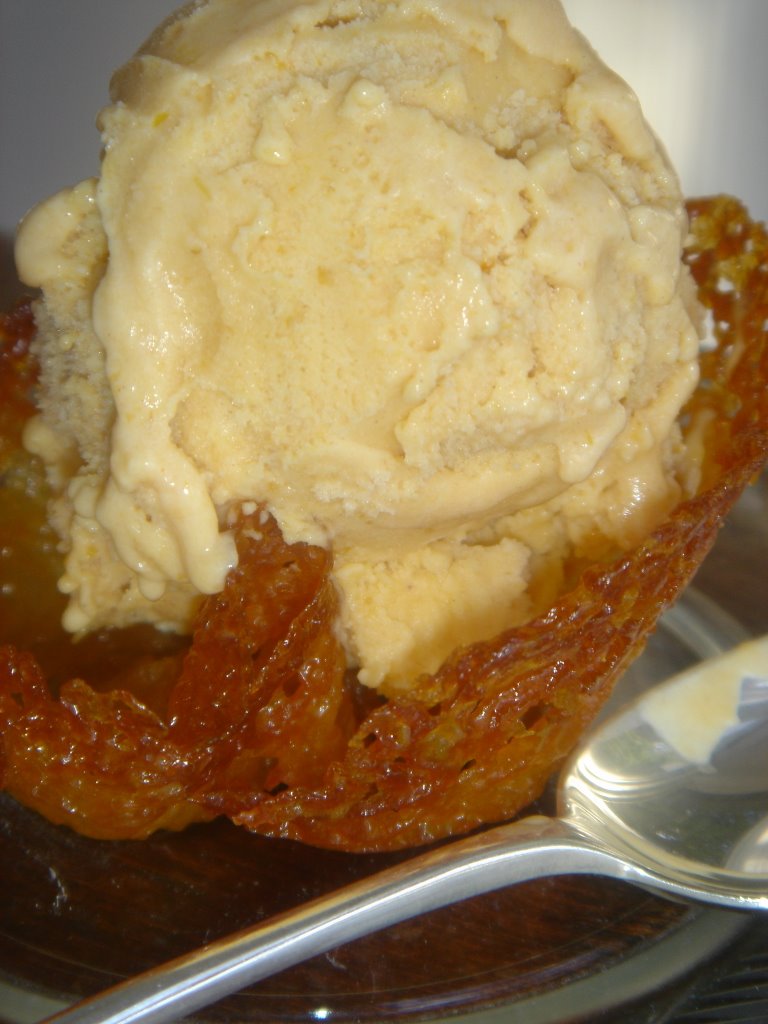
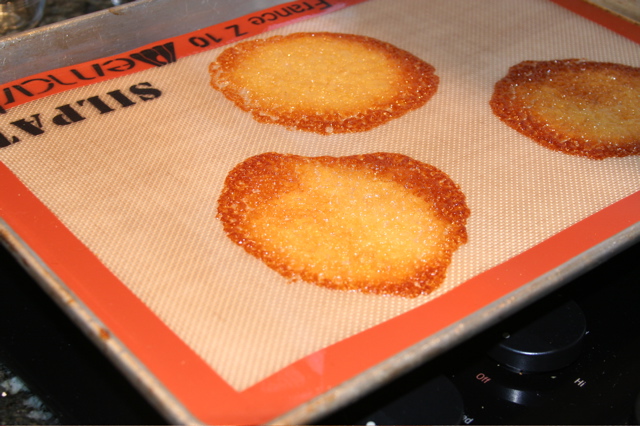
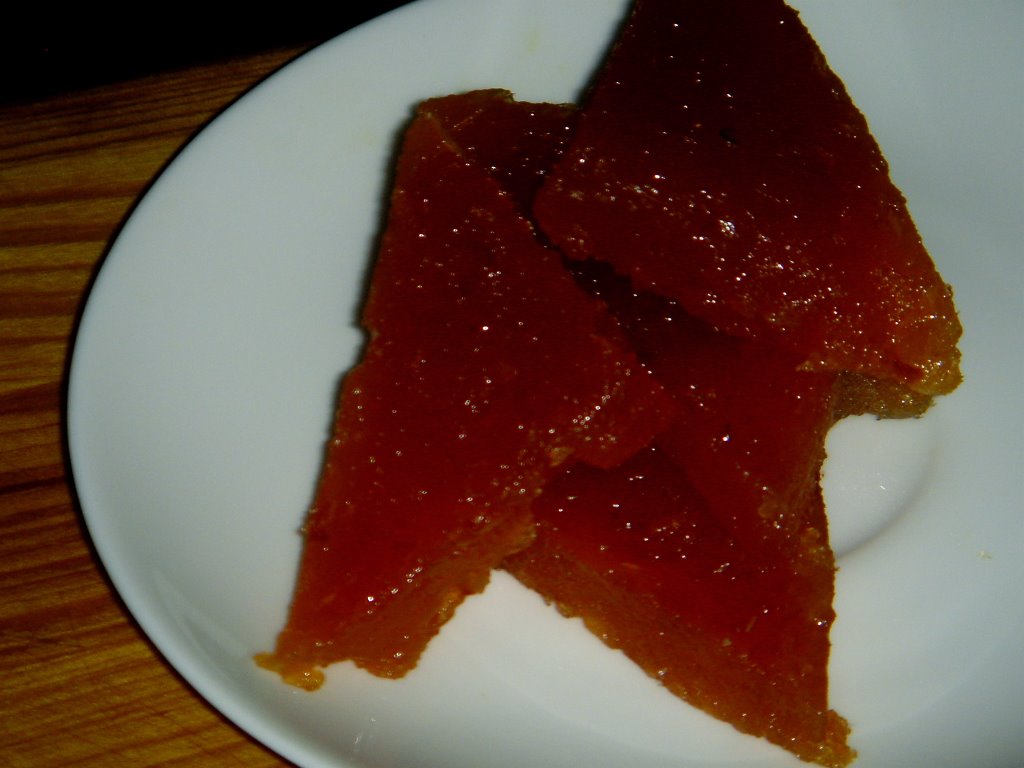
 I love when I go out to eat and am inspired by something I have ordered. It could be as simple as the herbed butter that was served with the table bread or as complicated as the Burgundy-thyme reduction sauce that smothered the short rib. Whatever it may be, the challenge of recreating is always fun. A few nights ago I met two friends for dinner at Mercato, a great BYO on the corner of Spruce and Camac. The meal was excellent--butternut squash risotto, pumpkin fettucini, striped bass with cipollini onions--but the big hit was the pumpkin panna cotta we all shared for dessert. It was light, not too sweet and paired with a delectable pumpkin seed toffee. I've fiddled with my favorite buttermilk panna cotta recipe and have created something similar. It couldn't be easier to make and I'm happy to have found one more recipe to add to my seasonal dessert repertoire. Enjoy!